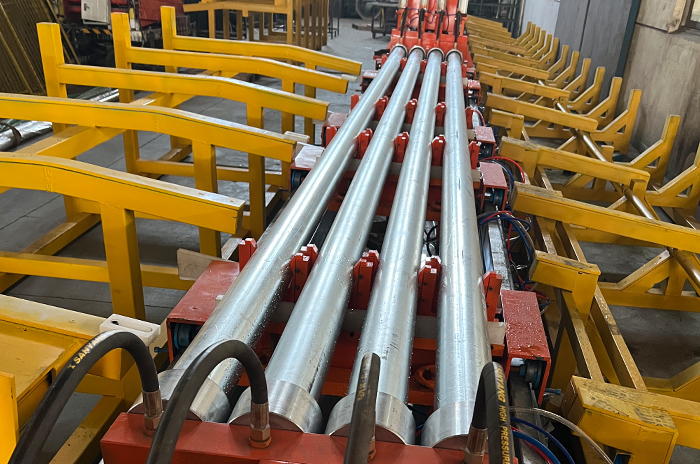
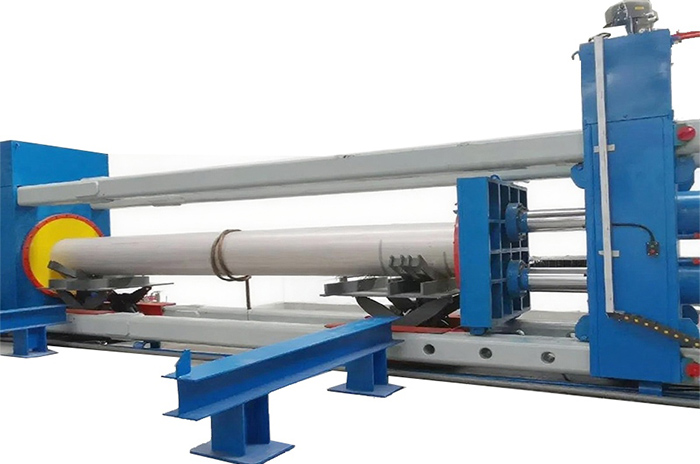
If you’re working with steel piping systems — especially those that will operate under pressure — you know just how crucial a reliable hydrostatic test is. In this article we’ll walk through the entire process of using a hydrostatic test machine designed for steel pipes, from initial setup, through test execution, to final inspection and documentation. Whether you’re in manufacturing, quality assurance, or maintenance, this guide will help you run a repeatable, trustworthy test.

1. Preparation and Machine Setup
Before you fire up the machine, there are a number of key setup tasks you should complete:
-
Verify that the test section of steel pipe is clean, free of debris, welded properly and all joints are properly tightened.
-
Make sure your hydrostatic test machine is correctly installed: hoses, pressure pump, gauges/transducers, water fill and bleed lines.
-
Ensure you have quality test water (for stainless steel systems, for example, clean treated water is strongly recommended) .
-
Vent all air out of the pipe before pressurizing. Trapped air can give misleading results.
-
Check calibration certificates for pressure gauges and recorders; this ensures accuracy and traceability.
At this stage you’re setting the foundation: good prep means fewer surprises.
2. Filling and Bleeding
With setup ready, now you fill the pipe segment with water and remove air:
-
Connect the fill pump and start introducing water slowly into the pipe until full.
-
Open the bleed vents at high points so all air escapes. As one industry guide puts it: “vents shall be provided at high points … to purge air pockets while system is filling.”
-
Monitor fill volume, water temperature and ambient temperature if required — these parameters help you assess test conditions.
-
Once you’re confident that all air is expelled and the system is fully filled, close the vents and prepare to pressurize.
3. Applying Test Pressure
Now comes the part where your machine really earns its keep.
-
Gradually increase the pressure to the required test level, which often is above the design operating pressure (for example 1.5× design pressure) to validate safety margins.
-
Increase pressure in increments if needed—especially for large or long pipe runs. Monitor for any immediate pressure drops or visual leaks.
-
Once you hit the target pressure, hold it stable for the required duration. This holding period allows any weaknesses to show up.
Here’s a simple table summarizing typical pressure‑hold parameters:
|
Parameter |
Typical Value |
Notes |
|
Target test pressure |
~1.25‑1.5 × design pressure |
Must not exceed component max rating |
|
Hold time |
30 min – several hours |
Depends on pipe size, standard, service. |
|
Allowed drop |
e.g., ≤ 5 psi over duration |
Any extra drop may mean leak or deformation. |
This period is where you learn whether your pipe and connections are up to the job.
4. Inspection During & After the Test
While the pressure is being held, and once it’s released, inspection plays a vital role.
-
During the hold: Periodically check joints, welds, flanges for visible leaks, bulging, or other irregularities.
-
After the hold: Depressurize carefully—rapid depressurization can cause shock or micro‑damage.
-
Drain the test water and inspect the interior (if accessible) or external surface for any signs of failure, deformation or leakage.
-
For stainless steel systems in particular: ensure that test water quality was adequate and drying happens promptly to avoid corrosion or MIC (microbiologically influenced corrosion).
5. Reporting and Documentation
The test machine itself may log data, but the value lies in how you record and present results.
-
Include pipe identification, test pressure, water temperature, start & end time, pressure vs time log.
-
Capture any deviations (pressure drops, leaks discovered, repairs made).
-
Sign off by the responsible engineer/operator and archive the certificate — helps for traceability, audits and clients.

6. Tips for Best Results
-
Always check that gauges and equipment are calibrated and in good condition.
-
Avoid extreme temperature swings during test; temperature impacts pressure readings.
-
Ensure a slow and controlled depressurization.
-
Use quality water (especially in sensitive systems) and remove air thoroughly.
-
If you test many segments over time, compare logs to spot trends (e.g., increasing pressure drop over several batches).
Using a steel‑pipe hydrostatic test machine isn’t just about hitting a number on a gauge. It’s about setting up properly, controlling the fill and pressure, observing carefully, and documenting thoroughly. When each step is done right, you gain confidence in the integrity of your piping system—and save time, cost, and risk down the road.