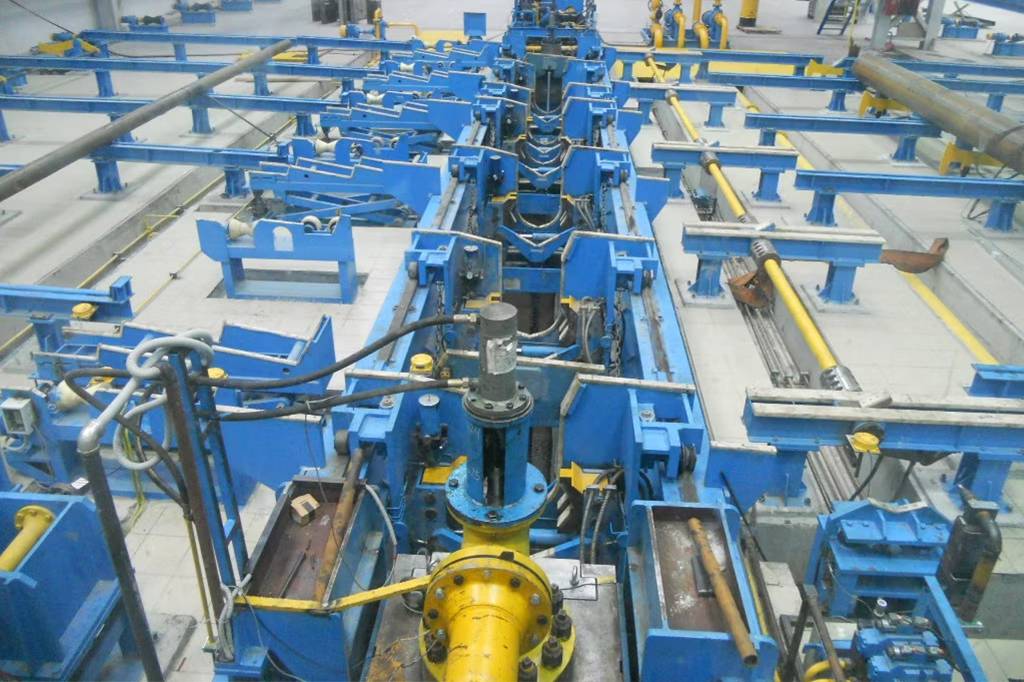
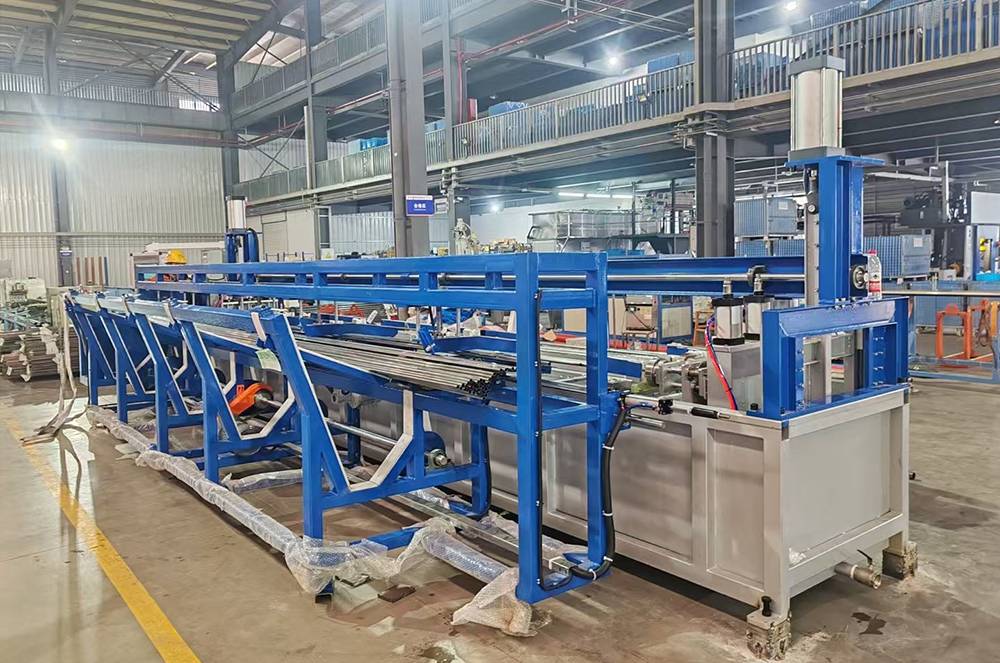
Pipelines look simple — a long tube carrying fluid from point A to point B. But the truth is: every length of pipe in a system is a potential point of failure. That’s why steel pipe testing machines exist. They don’t just “check a pipe”; they prove, under controlled conditions, that a pipe can survive the pressures and stresses it will face in service.
Why pipeline safety depends on testing
A few quick facts to set the scene (no technical drama — just reality):
-
Small defects hidden in manufacture can grow into major leaks under pressure.
-
Field repairs are costly, sometimes dangerous, and often impractical.
-
Standards, project specs, and customers usually require documented test results before pipes ship.
Put simply: testing turns unknown risk into recorded evidence. That’s the whole point.
What a steel pipe testing machine actually does
At the simplest level it does three things:
-
Pressurizes the pipe (water or gas).
-
Observes how the pipe behaves (does it leak? expand? fail?).
-
Records the outcome (pass, fail, or measured parameters for certification).
Different tests answer different questions. Below are the key ones you’ll encounter.

Common test types and how each improves safety
|
Test type |
What it checks |
How it improves pipeline safety |
| Hydrostatic test | Leaks and overall pressure integrity using water at a set pressure for a hold time | Shows whether a pipe can hold working pressure plus margin; water is safer if rupture occurs |
| Pneumatic / pressure-decay test | Leak rate using air/inert gas and monitoring pressure drop | Fast check for assemblies; useful when water handling is impractical |
| Burst test (destructive) | Maximum pressure to failure | Reveals actual burst pressure and safety margin for design validation |
| Cyclic / fatigue test | Resistance to repeated pressure cycles | Predicts lifespan under fluctuating service conditions (pumps, compressors) |
| Weld seam / localized leak test | Weak points at welds or joints | Catches seam defects that could cause sudden pipeline failure |
| Coating & immersion test | Performance of coatings under pressure or corrosive conditions | Verifies protection against corrosion that would shorten service life |
| Assembly/system test | Flanges, gaskets, valves, and fittings together | Ensures interfaces don’t leak once installed on site |
How test data is used — not just a pass/fail
A test certificate is more than a stamp. Typical outputs include:
-
Test pressure and hold time (evidence of the test conditions).
-
Pressure vs. time graphs (showing stability or decay).
-
Leak rate numbers (e.g., cc/min) or explicit “no leak found.”
-
Burst pressure and fracture notes for destructive tests.
For pipeline projects, engineers read these logs to decide whether a batch is suitable, whether additional inspection is required, or whether process changes are needed in production.
Real-world safety workflow
-
Pre-test inspection: check for visible damage, clean pipe ends, and verify dimensions.
-
Mounting and connections: use rated fittings and double-check seals. Many “false failures” come from loose test rig fittings.
-
Pressurize slowly: bring pressure up in controlled steps; watch for immediate anomalies.
-
Hold and observe: record pressure and visually inspect for leaks. Digital logs are much more defensible than notes.
-
Post-test handling: drain, dry, and inspect for cracks or permanent deformation. Record results and archive logs.
A short checklist plant teams can use today
-
Use water for hydrostatic tests when safety is priority.
-
Calibrate pressure gauges and transducers at least annually.
-
Keep a simple digital log (time-stamped pressure curve + operator initials).
-
Replace high-pressure hoses on a preventive schedule.
-
When shipping certificates, include test pressure, hold time, and a small pressure-vs-time graph.

Case scenario
Imagine a batch of welded pipes for a municipal water main. During routine hydrostatic testing, four pipes show a slight pressure decay that would pass a visual inspect but fail the specified leak rate. Investigation finds inconsistent welding at a particular seam. The manufacturer reworks the seam and re-tests. The re-test passes and the customer receives both the corrected pipes and test logs proving compliance. The field failure — and the public outcry and repair cost that would follow — was avoided.
That’s how testing saves money and reputation in a single project.
What buyers should ask for when they inspect certificates
-
Confirm test pressure and hold time are appropriate for the specification.
-
Ask whether tests were destructive (burst) or nondestructive (hydrostatic).
-
Request traceable logs for critical projects (time-stamped digital records).
-
Verify calibration status of the test equipment if the project demands it.
If a certificate lacks any of the above, treat it as incomplete.
A testing machine alone won’t make a pipeline safe. The machine, the procedure, the operators, and the quality control culture around them all matter. When those elements work together, testing becomes a reliable gatekeeper between the factory and the field.